Grilling with Berkhof
FOOD FOR THOUGHT
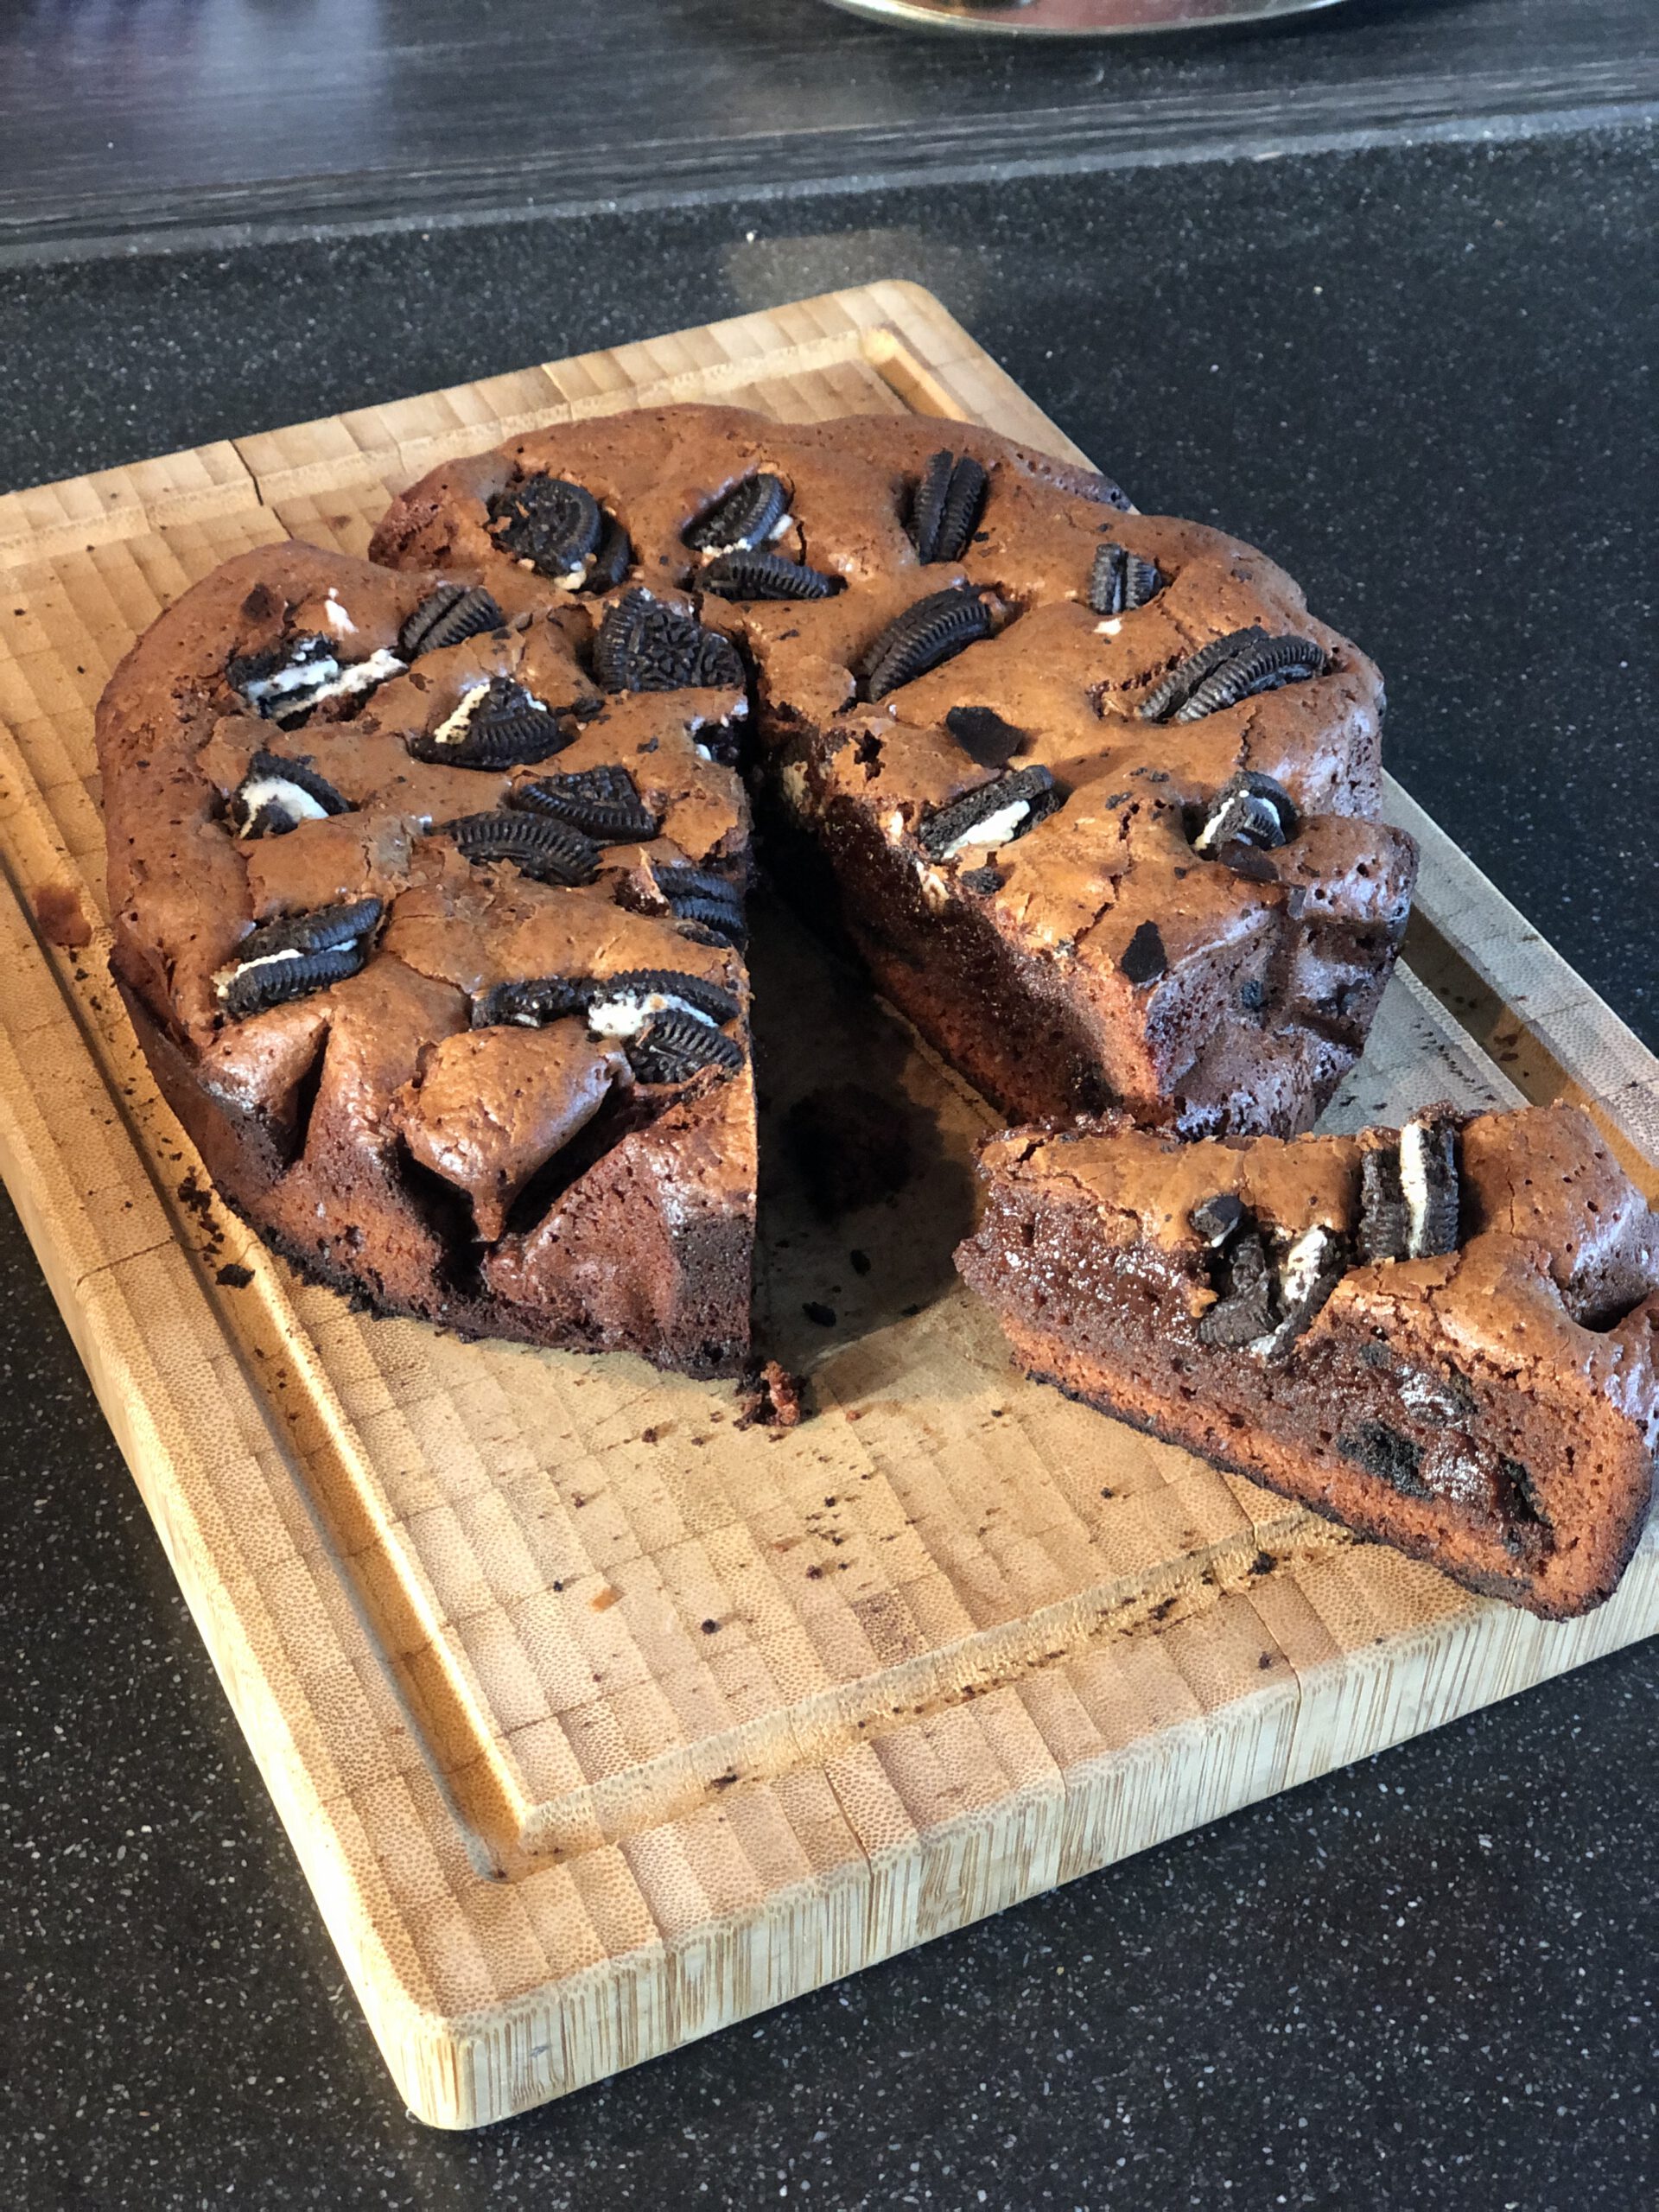
Maybe the best cookies in the world on your BBQ in combination with a brownie. This sounds like a dream, and it is.
This recipe from BBQ Junkie is amazing and easy to make within an hour.
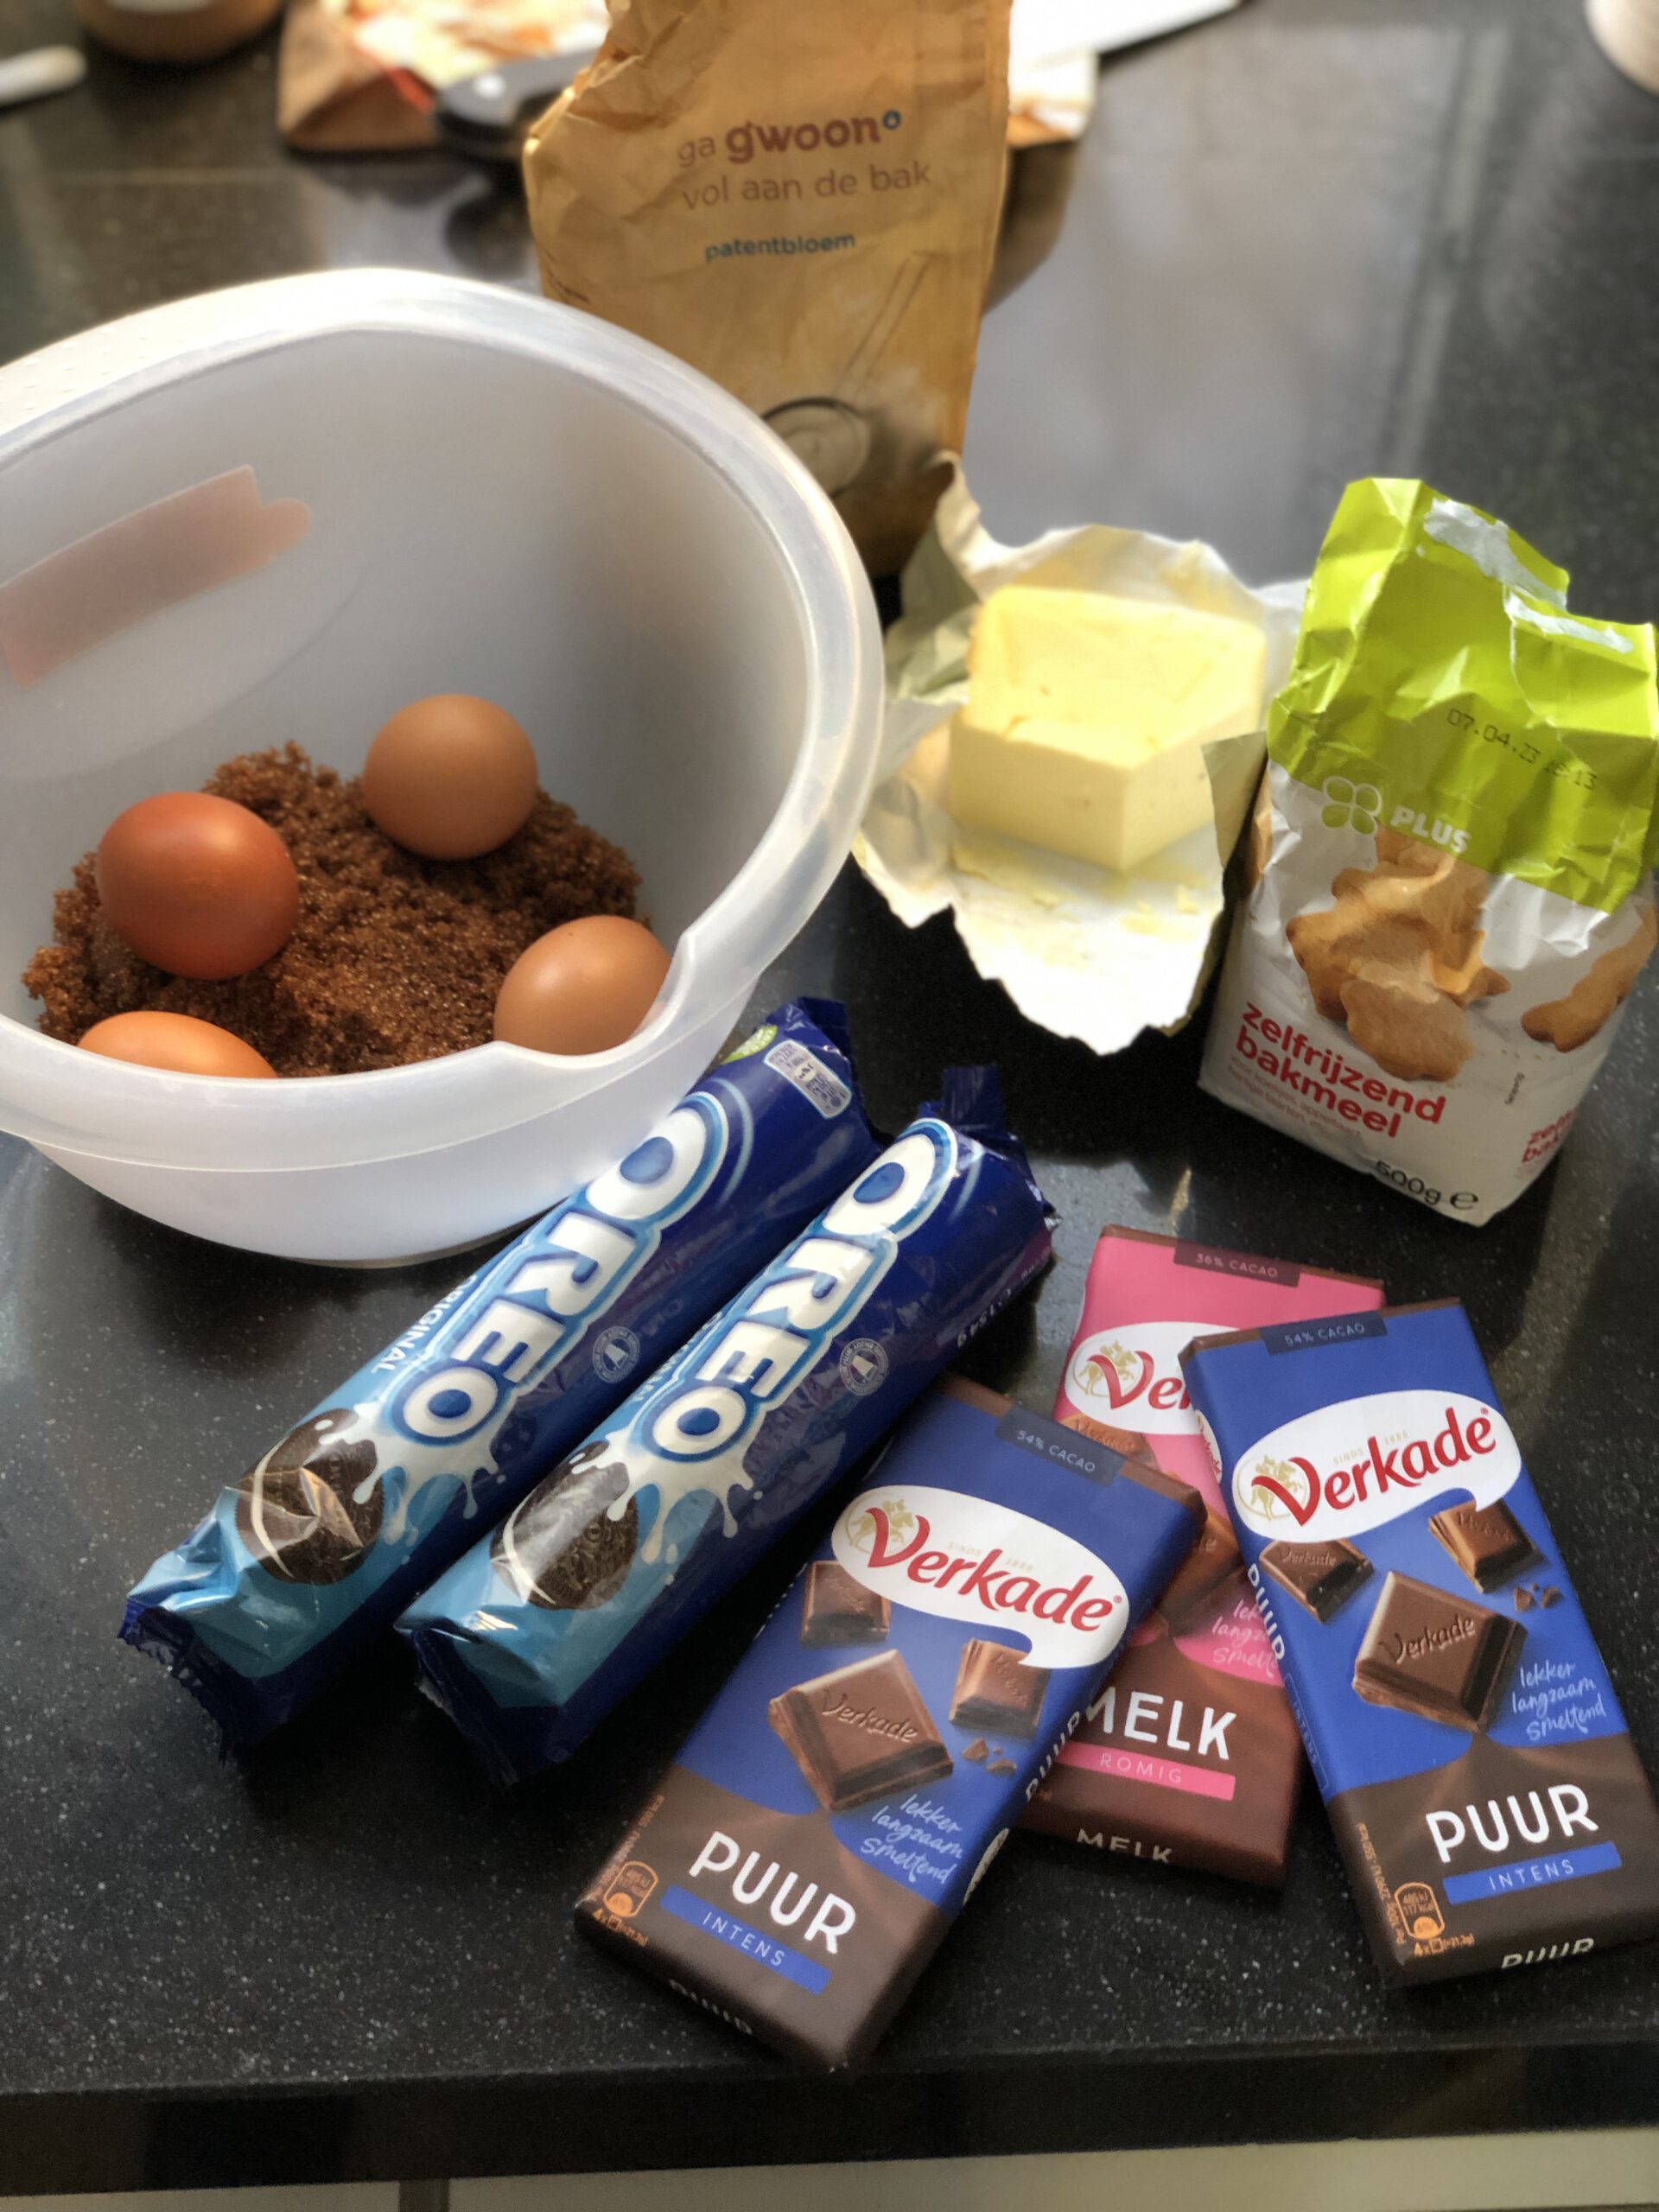
By mixing all ingredients together you will create the basis for the brownie.
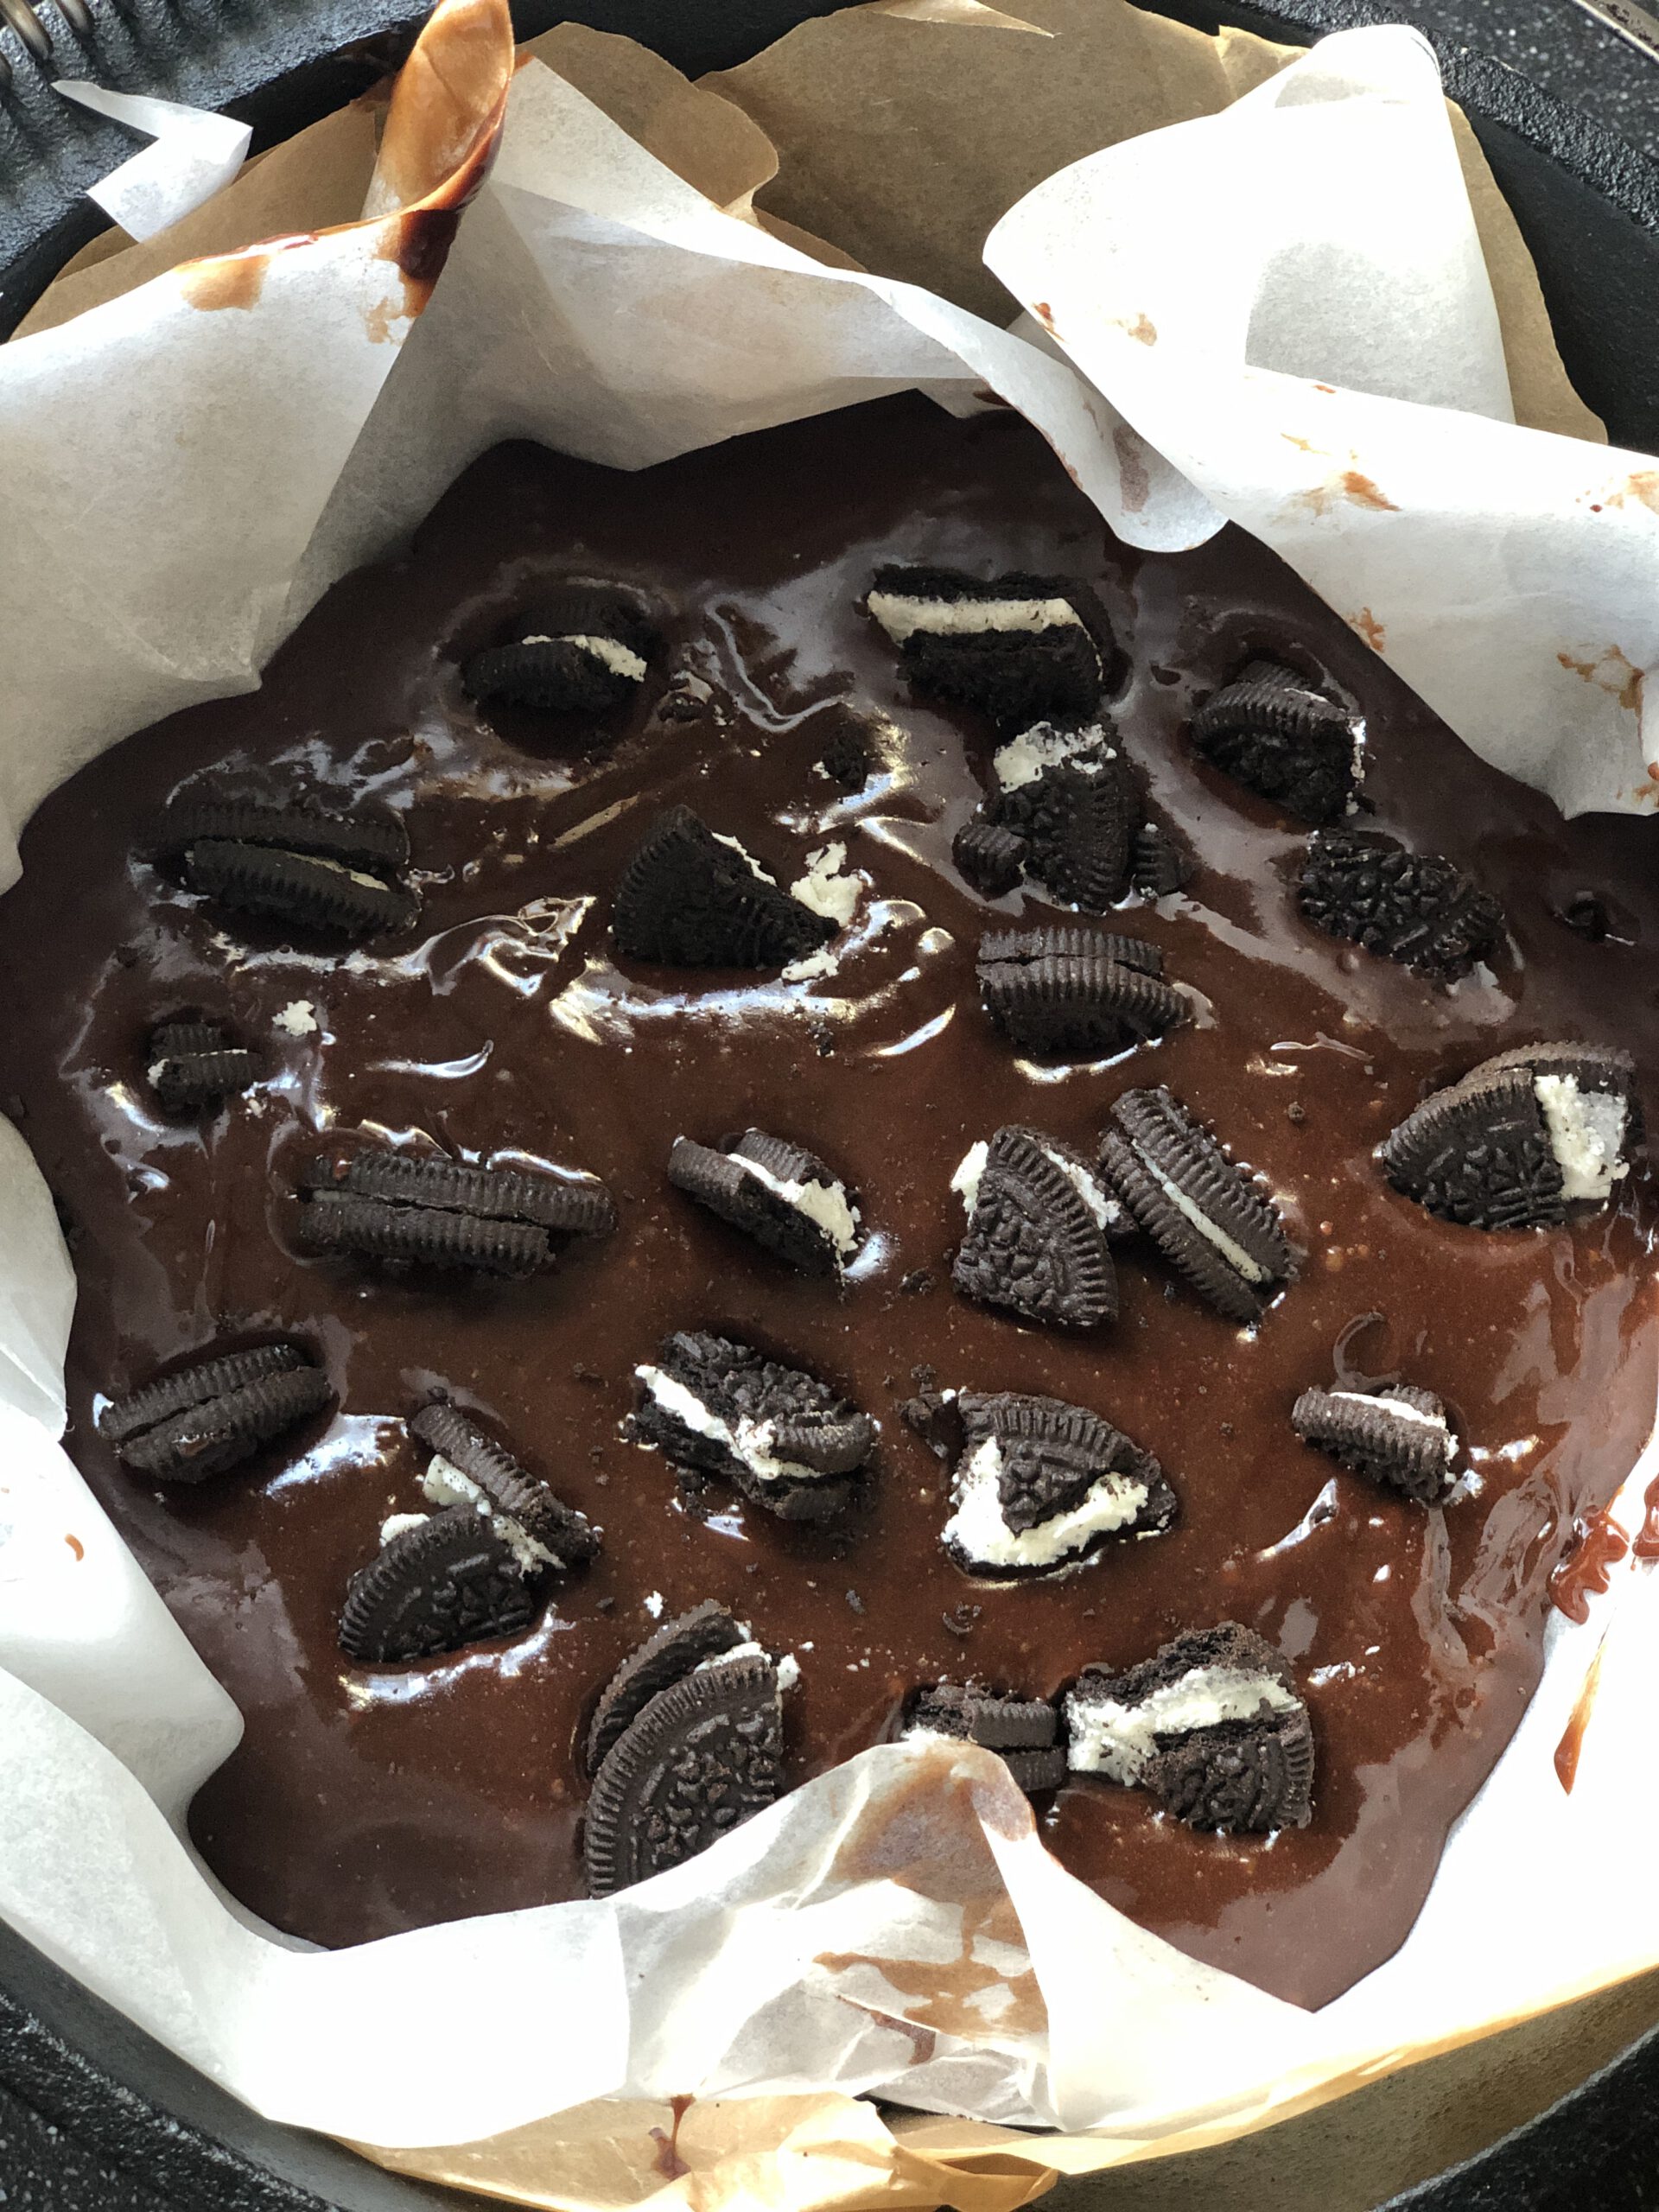
Mix the Oreo cookies together with all ingredients.
Don’t forget to mix the cooking into the complete brownie.
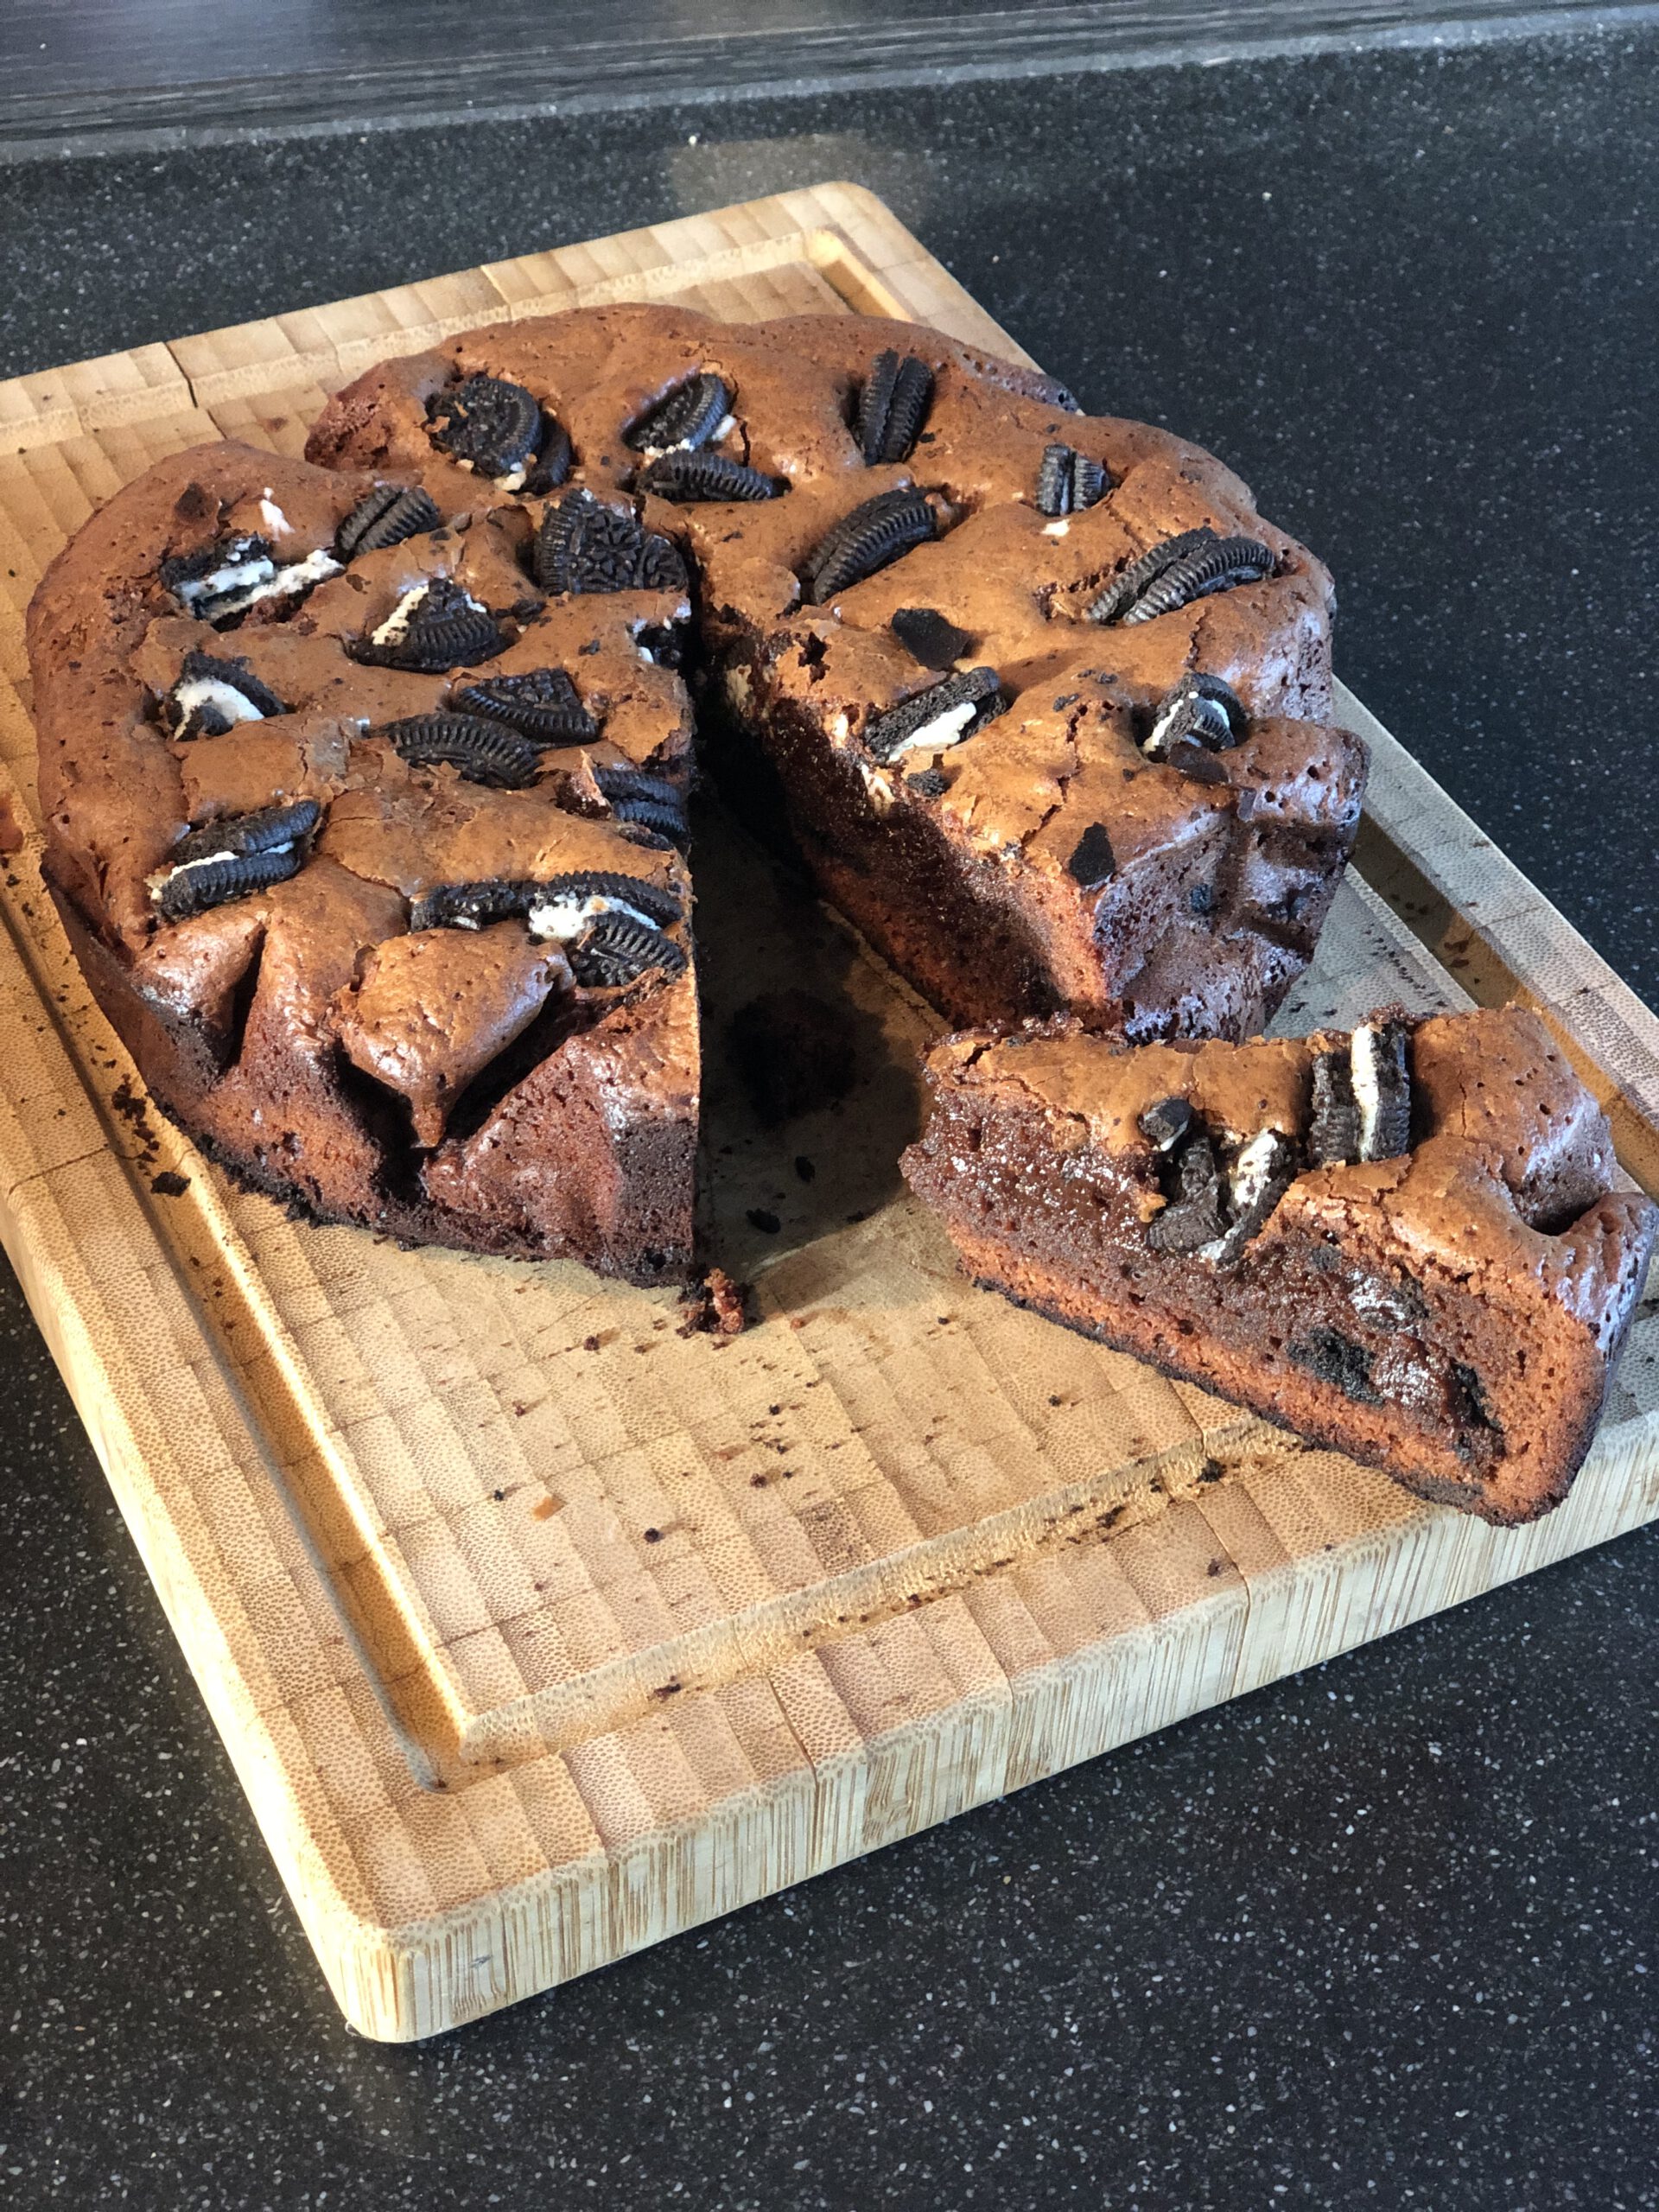
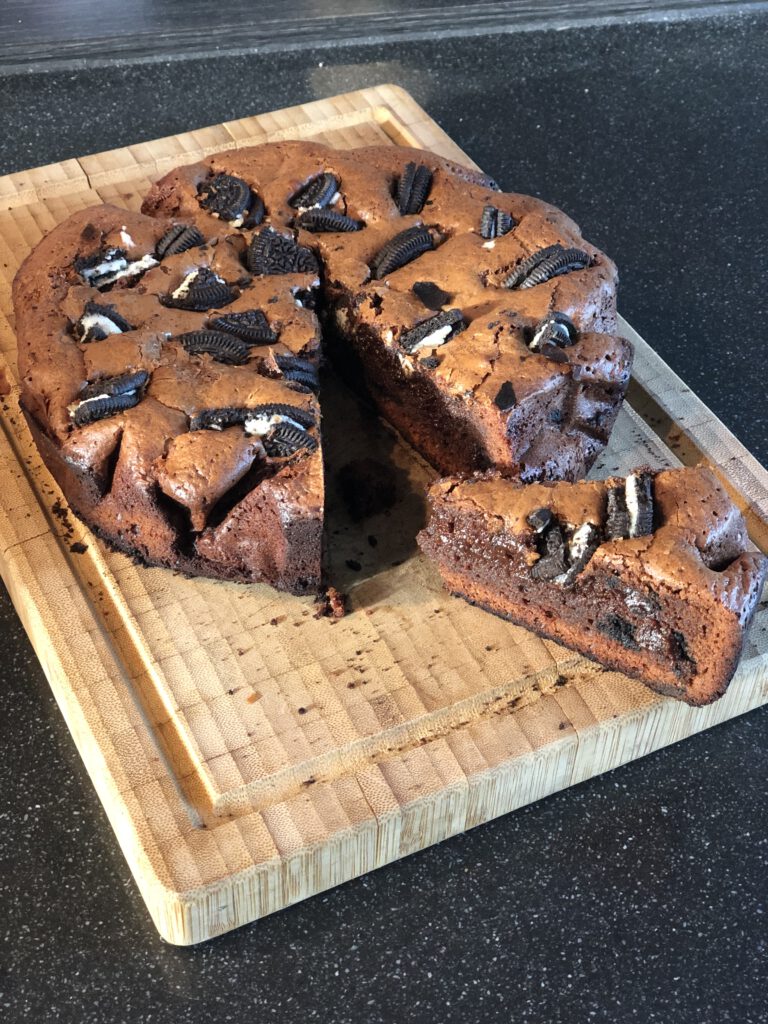
When it’s done, let it rest for 10 minutes and you are ready to enjoy the lovely desert.
Step 1: Start the BBQ
Heat the BBQ to 200 degrees. Add the baking paper Line the baking tin with baking paper. Melt the butter and the dark chocolate and milk chocolate in pieces in a pan au bain marie to an even chocolate sauce.
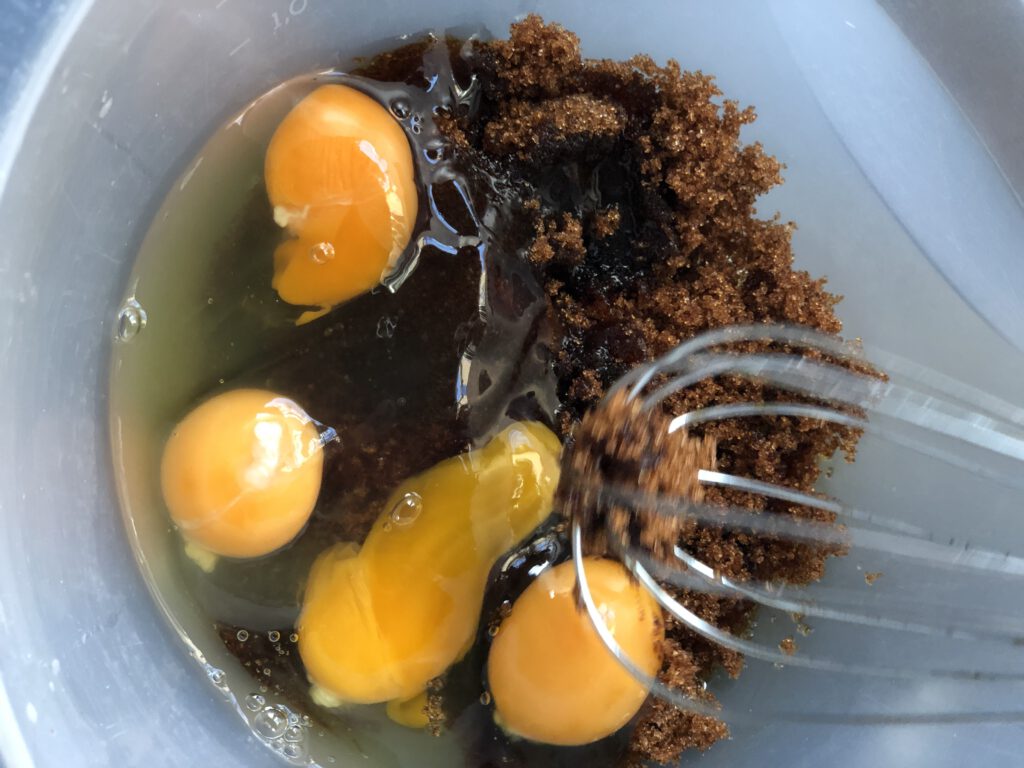
Step 2: Mixing the brown sugar with eggs
Mix the eggs with the caster sugar airy with a mixer in a large bowl.
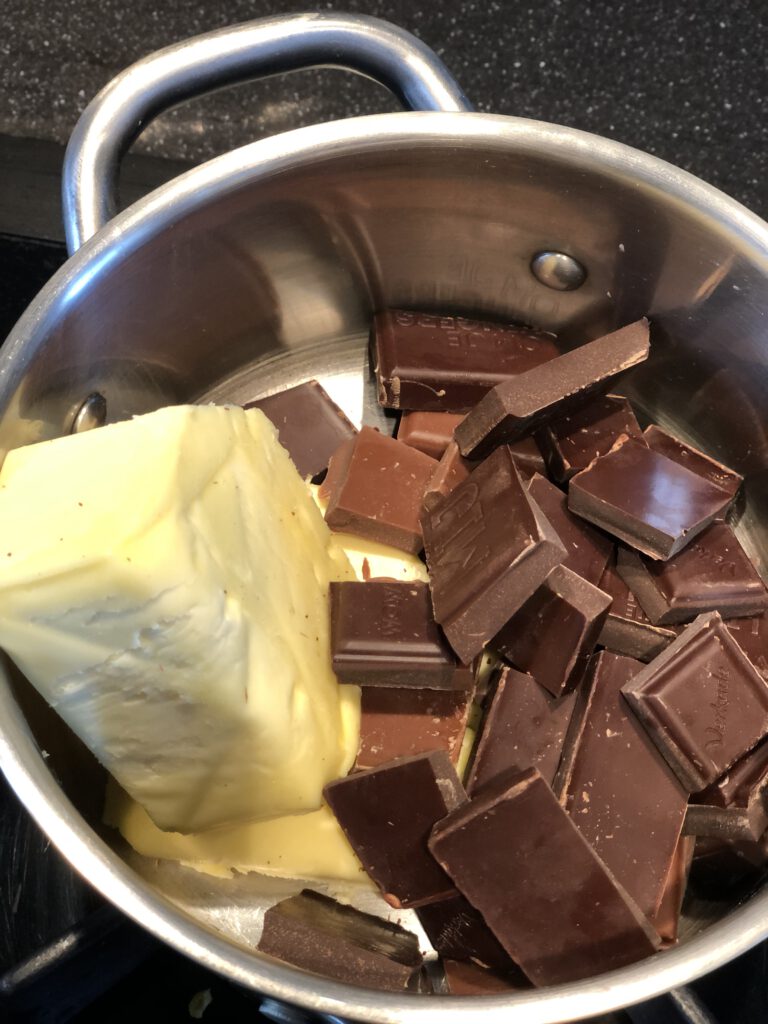
Step 3: Melting the chocolate with butter
Melt the butter and dark chocolate and milk chocolate in pieces in a saucepan. Put it on a low fire and stir until everything is melted. Turn off the heat and let the mixture cool. It should still be a little warm, but no longer hot.
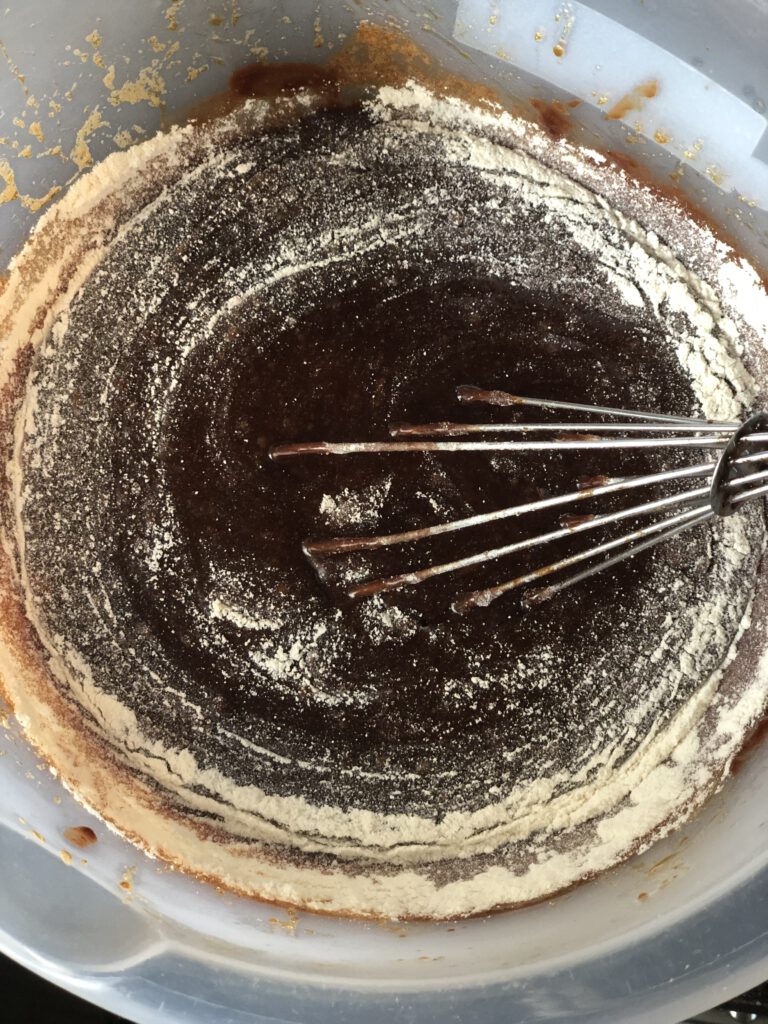
Step 4: Mixing everything together
Then, pour the butter/chocolate mixture into the eggs, while stirring well with a whisk. Then also stir the self-rising flour through the eggs, sugar, chocolate, and butter.
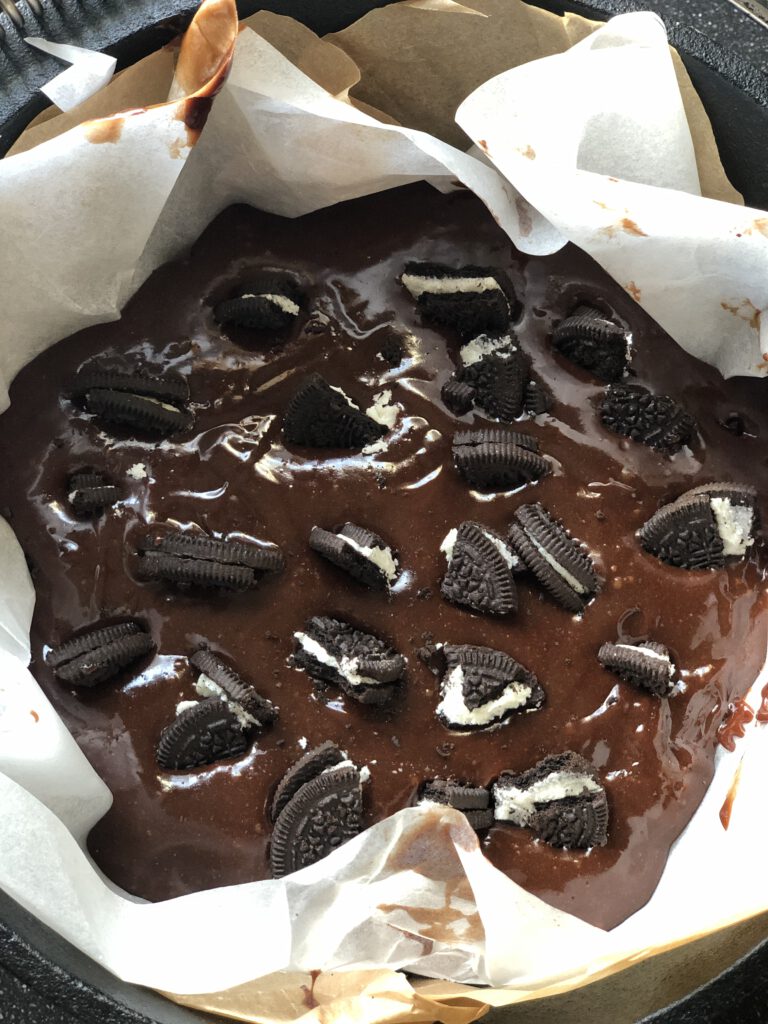
Step 5: The low and slow session itself
Cover the skillet, Dutch oven or baking tin with baking paper. Break about half of the Oreos into pieces and divide them over the bottom.
Then pour in the brownie batter. Now break the remaining Oreo cookies into pieces and divide them over the batter.
Step 6: Baking time
When the BBQ is around 200 c / 390 F then it’s time to bake the brownie. Place the pan on the grid (indirect heat) and close the BBQ with the lid. Now bake the brownie on the BBQ for 30 minutes.
It’s okay if the brownie is still a little wet in the middle, but make sure it’s not too runny. Otherwise, put it back for a while and keep a close eye on it. When the brownie is good, let it cool for 10 minutes and you can serve it right away.
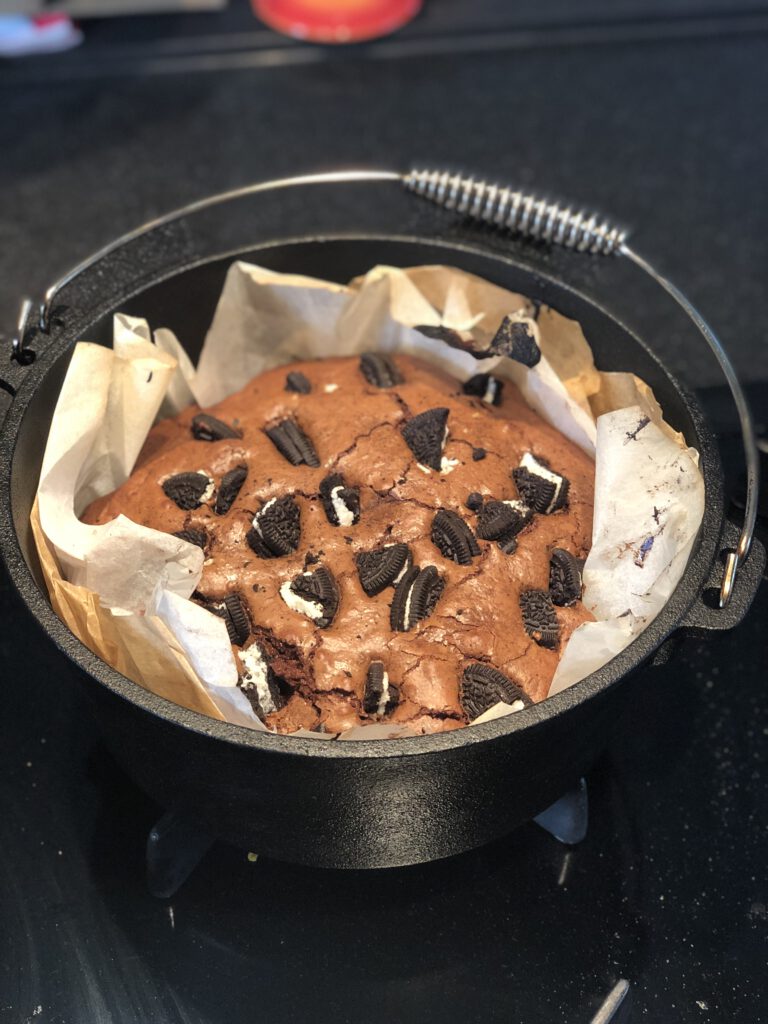
After completing the previous steps you are ready to serve this tasty brownie. ENJOY!
Description for this block. Use this space for describing your block. Any text will do. Description for this block. You can use this space for describing your block.
Watch on socials
Share this recipe